08. Lab Solution: Secure Your Dog API
Solution: Secure Your Dog API
Below, we'll walk through each step of the lab and look at one potential way to implement the lab. Even if you get stuck, you should always first try to work through the lab without the solution before coming here, so that you can best learn the related skills and be ready for the project at the end of the course.
Step 1: Add the necessary dependencies for Spring Security.
Given your code for the REST API from before, you just need to add the following two dependencies to the Maven POM file:
        <dependency>
            <groupId>org.springframework.boot</groupId>
            <artifactId>spring-boot-starter-security</artifactId>
        </dependency>
        <dependency>
            <groupId>org.springframework.security</groupId>
            <artifactId>spring-security-test</artifactId>
        </dependency>
Step 2: Create the necessary security configuration class.
- the class should extend
WebSecurityConfigurerAdapterto secure your API with Basic Authentication
First, add a config package to your Dog REST API code, and then add a SpringSecurityConfig class within it that extends WebSecurityConfigurerAdapter from Spring Security.
From there, the code follows similarly to how the Location API was secured in the earlier Case Study video, although welcome to update the username and password used below (and required to do so in any more in-depth implementation, of course). Note that the class uses both the @Configuration and @EnableWebSecurity annotations.
package com.udacity.DogRestApi.config;

import org.springframework.beans.factory.annotation.Autowired;
import org.springframework.context.annotation.Bean;
import org.springframework.context.annotation.Configuration;
import org.springframework.security.config.annotation.authentication.builders.AuthenticationManagerBuilder;
import org.springframework.security.config.annotation.web.builders.HttpSecurity;
import org.springframework.security.config.annotation.web.configuration.EnableWebSecurity;
import org.springframework.security.config.annotation.web.configuration.WebSecurityConfigurerAdapter;
import org.springframework.security.crypto.bcrypt.BCryptPasswordEncoder;
import org.springframework.security.crypto.password.PasswordEncoder;

@Configuration
@EnableWebSecurity
public class SpringSecurityConfig extends WebSecurityConfigurerAdapter {
    @Override
    protected void configure(HttpSecurity http) throws Exception {
        http
                .csrf().disable()
                .authorizeRequests()
                .anyRequest()
                .authenticated()
                .and()
                .httpBasic();
    }

    @Autowired
    public void configureGlobal(AuthenticationManagerBuilder auth)
        throws Exception {
        auth.inMemoryAuthentication()
                .withUser("admin")
                .password(encoder().encode("password"))
                .roles("USER");
    }

    @Bean
    public PasswordEncoder encoder() {
        return new BCryptPasswordEncoder();
    }
}
Note in the above that all of the . functions are actually chain together, but are on separate lines so that someone reading the code can more easily understand it.
Step 3: Test that your API is now secured.
- It should use basic authentication
- The API should still operate appropriately for an authenticated user
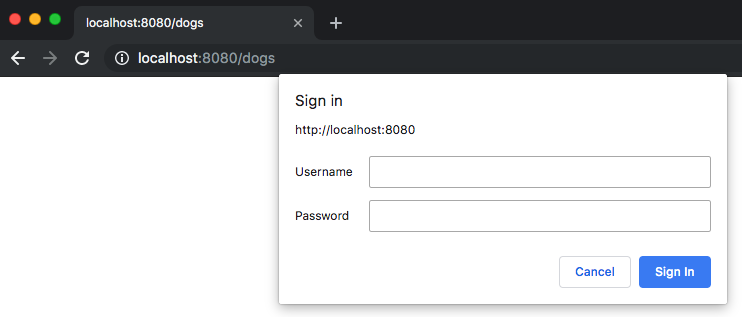
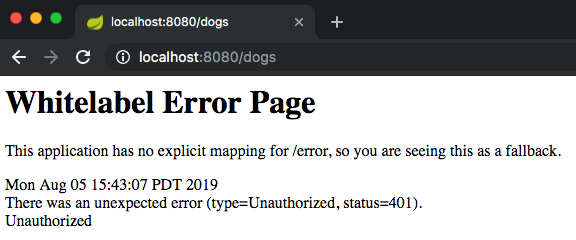
You can test this out in multiple ways. First, I tried to access localhost:8080/dogs in the browser, and got a "Sign in" window. If I click cancel, I get a 401 error - Unauthorized. If I enter in my basic authentication information, I can access the page.

Needing to sign in to our Dog API

The (uncustomized) 401 status - Unauthroized
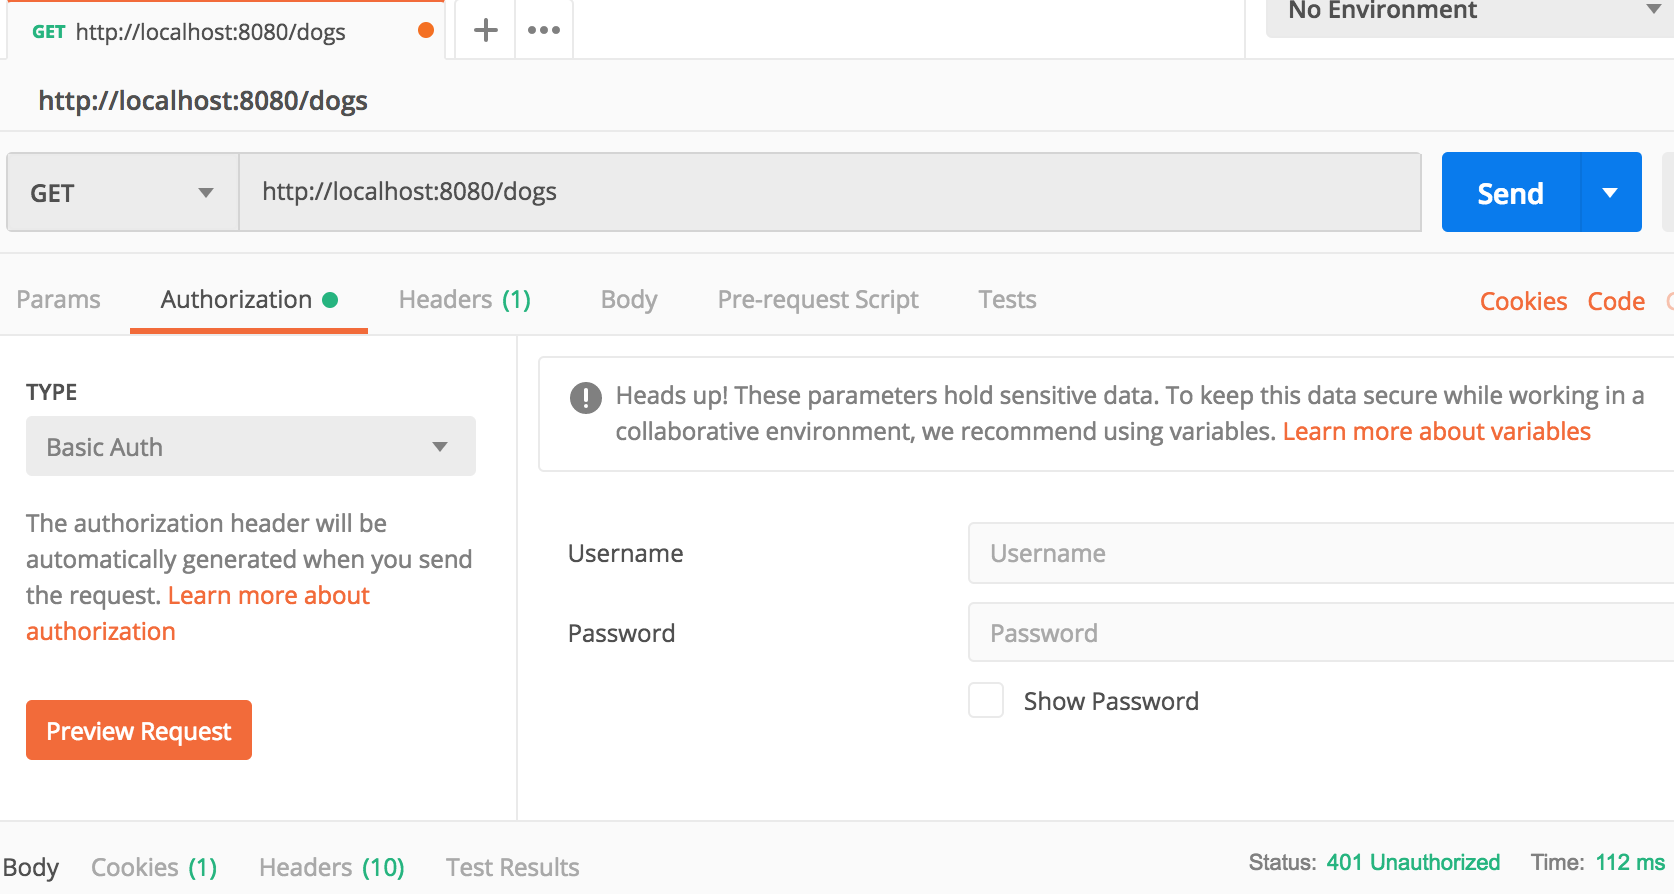
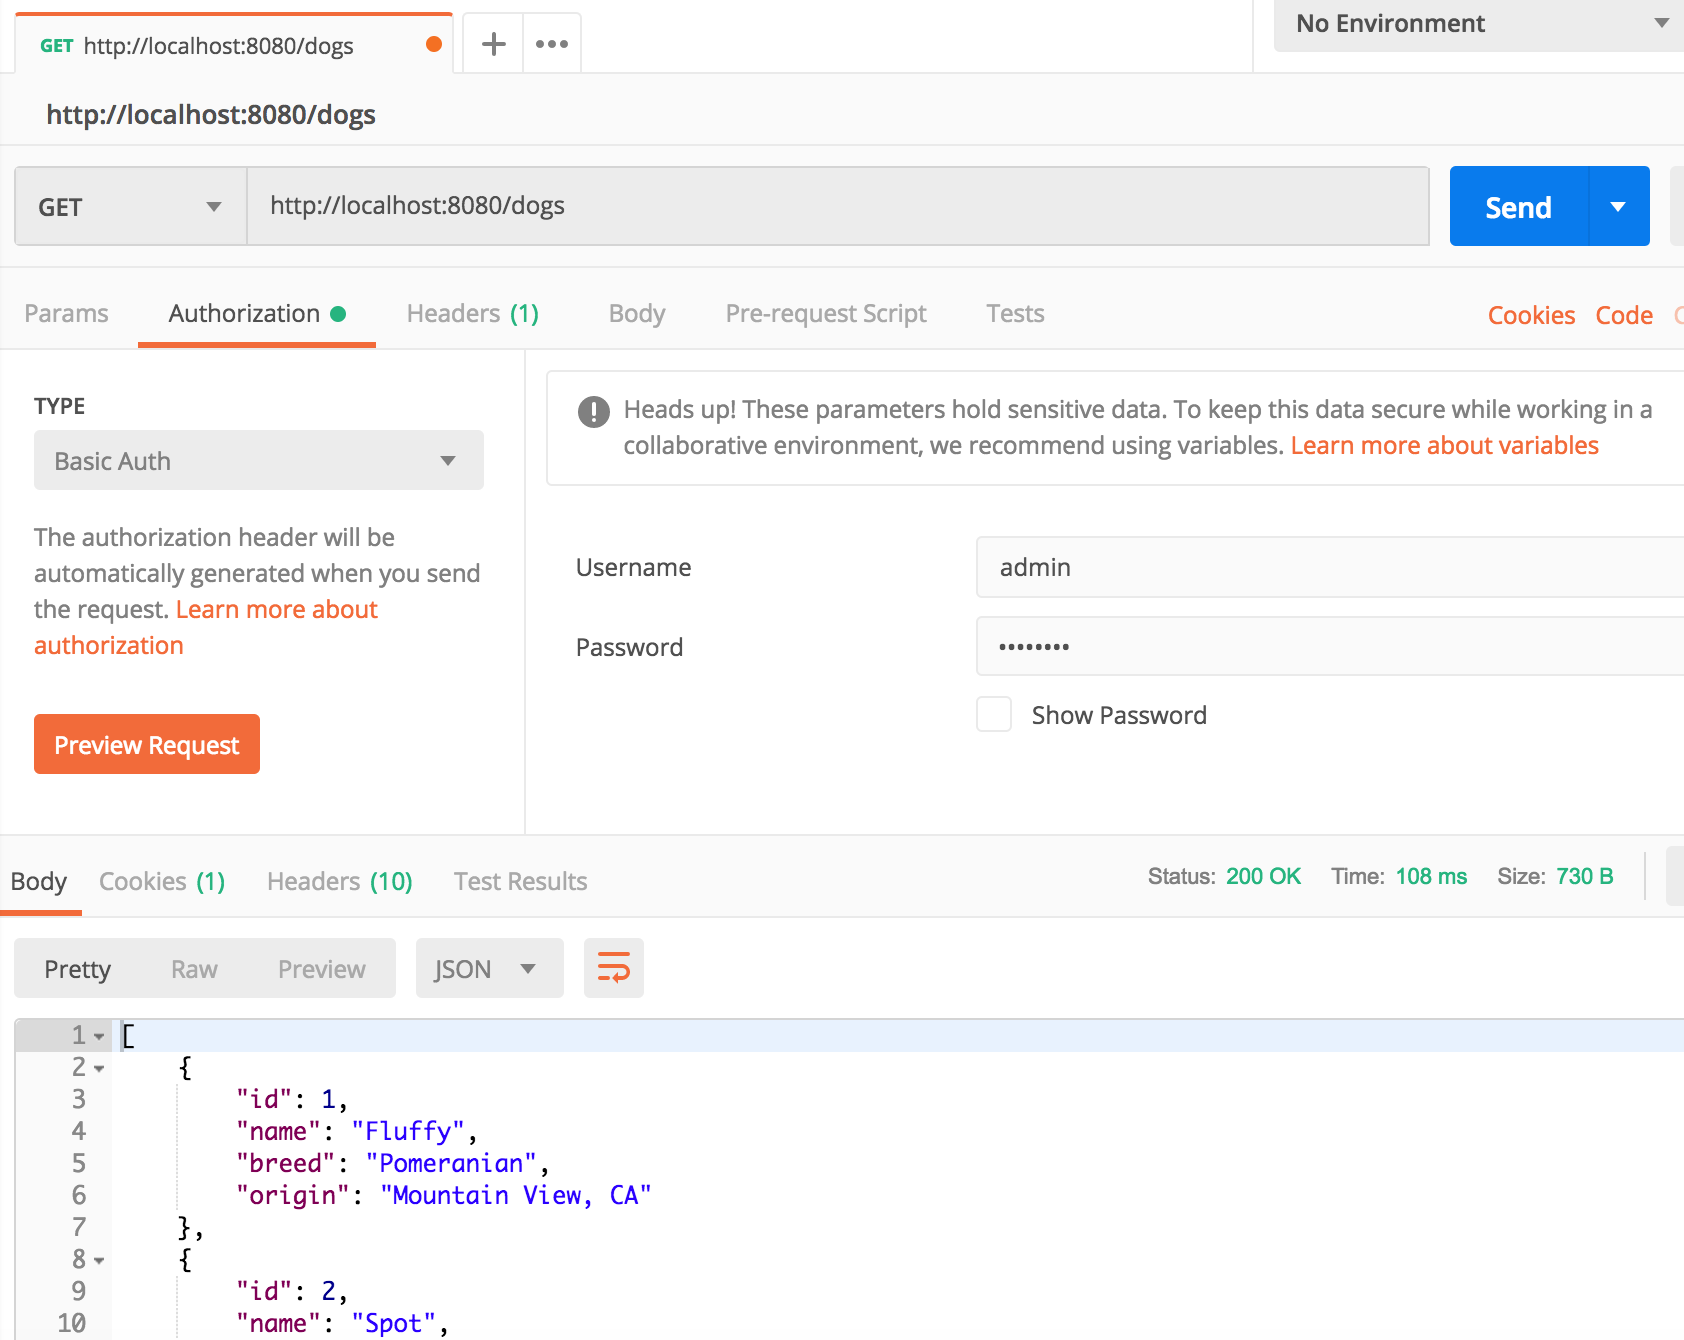
I can also test this in Postman instead, where I change the "Authorization" tab to use "Basic Auth", make sure I am using a GET request, and then first attempt without a username and password. I will again get a status code of 401 meaning I am unauthorized. If I add the correct username and password, I can access the API.

An unauthorized request through Postman (see status 401 in bottom right)

The authorized user can access the API
Full Solution
If you'd like the full solution code all in one place, you can download it through the link below.